Janet Bolton Workshop

SWLQ ran their first workshop last Saturday, 8th February. We were very fortunate to have Janet Bolton, to get us off to an excellent start. Many of you may be familiar with her charming work which has been used to illustrate children’s books. https://www.janetbolton.com

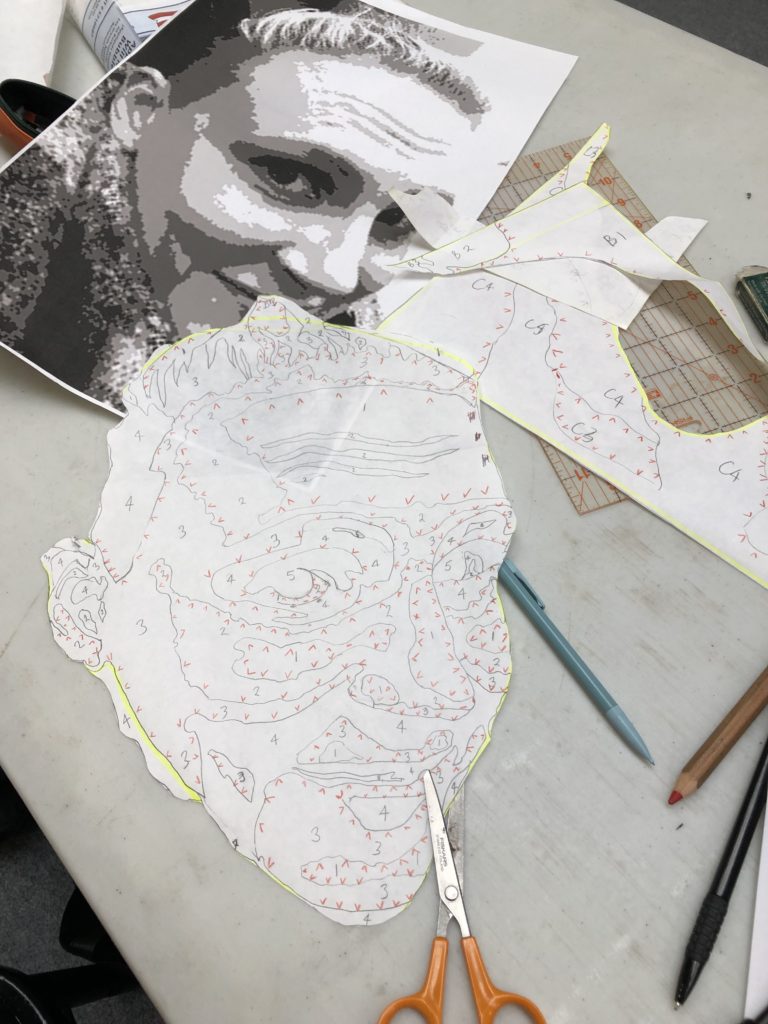
After a short introduction to her method of making small pictures with scraps of many varied fabrics, Janet suggested that we might like to start by making the background piece and frame etc, so that we had something to work on as our ideas developed. Some members had already done this before the workshop started which got them off to a really good start. It was a really excellent way to get us into the mood for a bit of creativity and hand stitching. 

Janet advised us on methods of presenting the work using picture frame mounts and the advantages of using glass, Perspex or nothing at all. She had brought along a good selection of her works, some mounted, some framed which proved to be invaluable to study at close range.

The pieces we produced were very varied, some managed to capture Janet’s individual style with the needle turned appliqué directly applied. Janet gave us loads of tips on what works for her, but she was very keen to encourage everybody’s individual creativity.

She had travelled the world with her work and she told the story of her trip to The Stitchin’ Post and meeting the Gees Bend Quilters, bringing with her the quilt with their signatures on for us to see. 

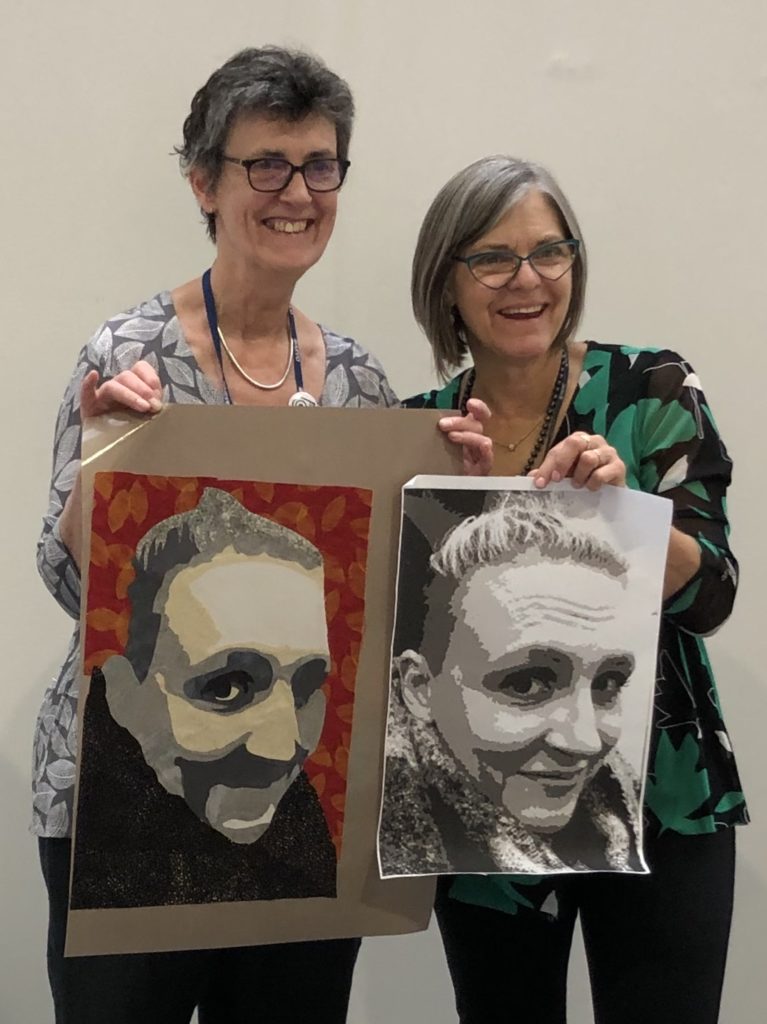
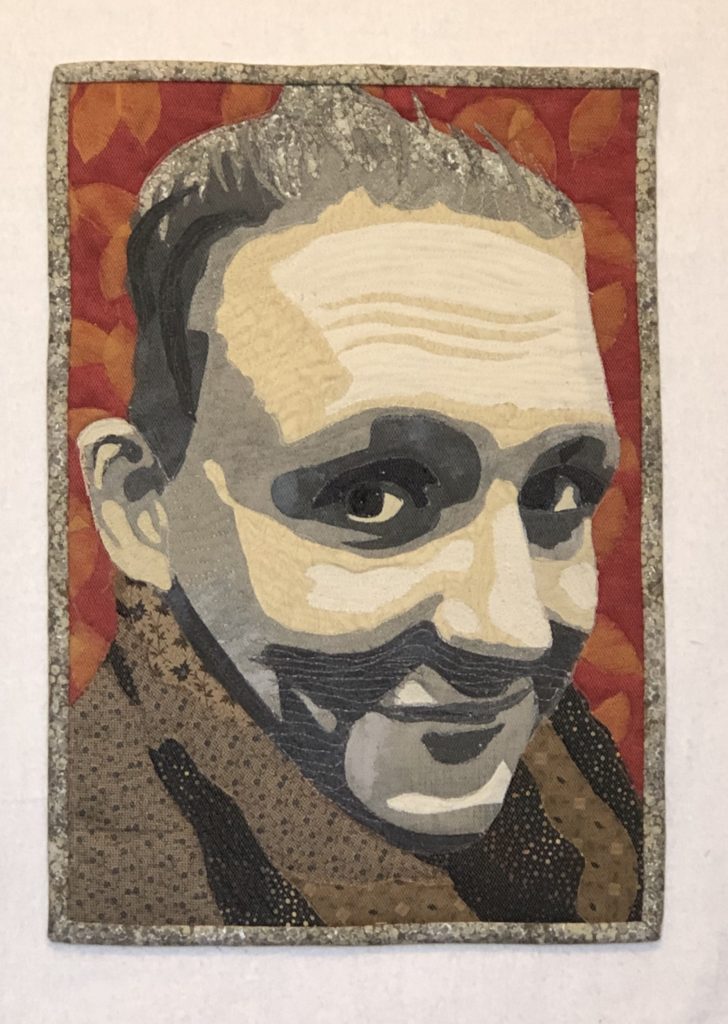
Once we have been able to gather images of our finished works, we will put up a mini gallery. We can’t wait to see them all together.

Fused applique portrait class with Lea McComas at the Festival of Quilts 2019

In preparation for this two day raw-edge appliqué class, Lea had edited and prepared an A3 printout for each of the 13 attendees from photos that they had already sent to her studio in Colorado.

These images ranged from close family members and pet dogs to a blonde prisoner in the dock and 70’s pop icon Donnie Osmond. 

The first step was to create the pattern. Each photo had been converted to grey scale using Photoshop elements so that it had five tonal values. With a light box (or, in some cases, the round windows of Hall 9!) we traced the outlines of the different tonal shapes on to freezer paper with a mechanical pencil, labeling them 1-5 according to their tonal value and simplifying the edges as necessary. Using a highlighter, we drew around the edge of the picture so that we could easily identify the border. We also highlighted the edges of different major shapes to make the piecing easier. The next step was to mark the edges of the lightest pieces, 1, with red arrows where you would need to add a quarter inch seam allowance when cutting out those pieces. When positioned, this allowance would tuck under the adjacent darker piece. Working from the centre outwards, you would then repeat the red arrow marking for edges of the next tonal value, 2, where it would meet and underlie 3, and do this for 3 to go under 4 and so on. 

Carefully tracing the different areas of the face
Marking the face up with red arriows

The pieces were then carefully cut out into the larger sections of the face and background.

A tacky fusible material such as Lite Steam-a-Seam2 or Mistyfuse (which is not repositionable, so one has to be super-confident in accurate placing) was then pressed on to the selected fabrics and the lightest shapes cut out adding a quarter inch where indicated.  

The portrait was gradually built up on a Teflon sheet, from light to dark, and once satisfied with the layout, it was ironed, before transferring the portrait to a calico base-layer. This was done by carefully peeling off the Teflon sheet from the back of the assembled portrait which was ironed firmly into position on the calico. Additional smaller detail such as eyes, lips and frown lines could then be superimposed on the face.

The next step, the usual quilt sandwich followed by as much machine stitching as you wanted, was left to be done at home. Before stitching, very fine bridal tulle (in beige or white as appropriate) can be added over the top to keep the raw edges neat. As a minimum, each piece should be stitched around on the darker fabric, close to the edge. We were also strongly advised not to quilt contours as they are difficult to get right and can easily distract from the form rather than add to it.

Lea McCormas with Annie Folkard at Festival of quilts

The workshop also included instruction on how to prepare digital files for use in making our own patterns, fabric and colour palette selection and tips for stitching and finishing the portrait quilt. 

Finished portrait of Billie


All in all, a great class with lots of helpful tips. (And very challenging! Happily, Lea is a passionate yet patient, calm teacher who never gave up on any of her pupils – Ed)